Resources · Guide
Our Data Migration page explains what to expect. This guide is the checklist you follow on the day. It's written for QuickBooks Desktop, because that's where most people come from, but any system that can export to Excel works the same way.
On this page
Step 1: Decide what comes across
Step 2: Export from QuickBooks
Step 3: Reshape the spreadsheets
Request the manual
Pick the date. Right after payroll has been processed, after the vendor invoices due on the 10th have been paid, and after the bank statement is reconciled. A weekend early in the month is ideal.
Book two people if you can: one reading from QuickBooks, one entering into Easy Books.
Have Easy Books installed on the server (see Getting Started) and Excel, or a free alternative like LibreOffice Calc, on the same machine.
Allow three to ten hours, depending on how many customers, vendors and items you have.
Keep a paper checklist of what you've finished. It sounds old-fashioned. It works.
You don't need to move everything. At minimum, bring across customers who owe you money, vendors you owe money to, and the items you stock. If you have fewer than about fifteen customers with balances, typing them in by hand is quicker than importing. If you have hundreds, use the import.
QuickBooks can produce each list as a report you save to Excel — the customer contact list, the vendor contact list, the item list. In each report, use Customize Report to choose the columns Easy Books needs. Article 2.04 of the User Manual lists the exact columns, in order, for each one.
This is the step that takes the time. Each spreadsheet has to match the layout Easy Books expects: the same columns, in the same order. If spreadsheets aren't your strength, this is the hour to borrow your bookkeeper or a local IT person. Once the layout is right, the import itself takes seconds — a thousand customers post almost instantly.
On the server, open the Setup and Configuration Wizard and work through its buttons in sequence: sales tax rate, customers, vendors, items, then opening balances. Do them in that order. Later steps depend on earlier ones.
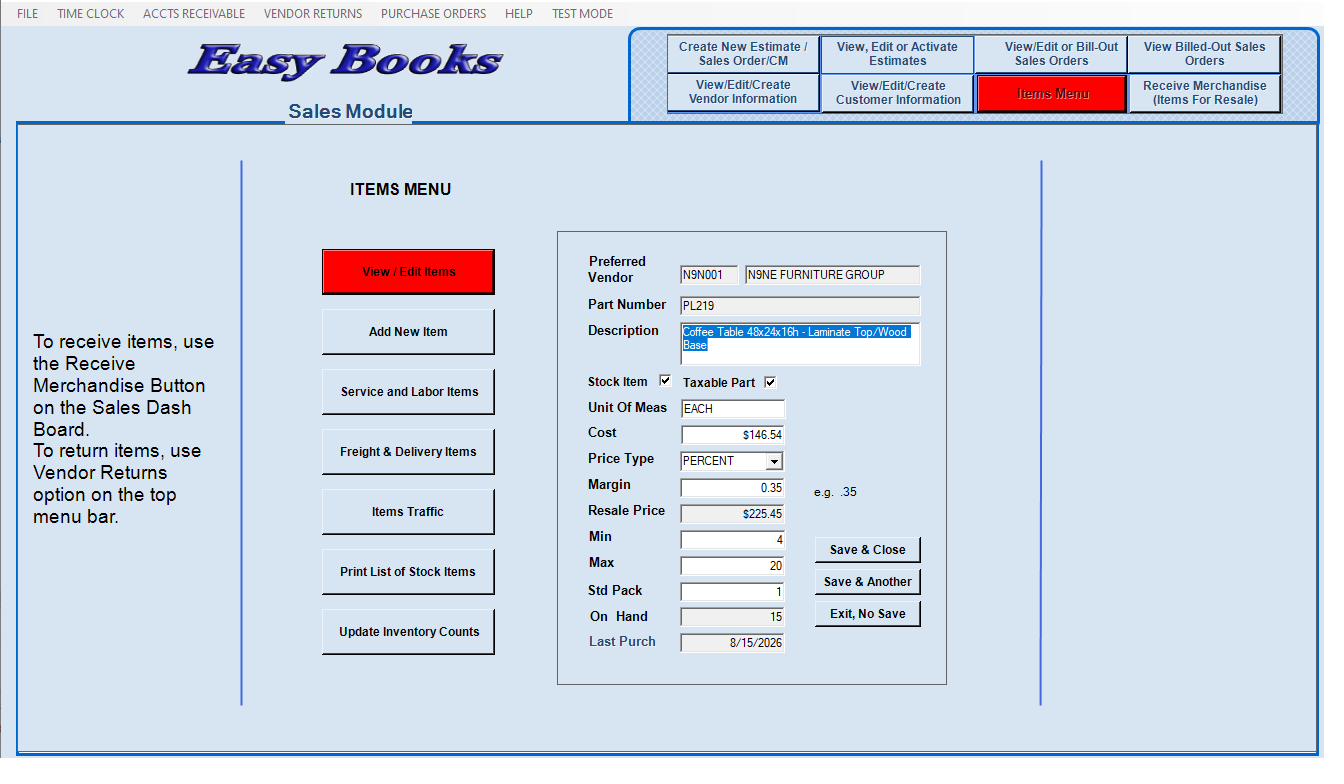
QuickBooks doesn't hold everything Easy Books needs — a customer's tax status, a vendor's type and default expense account, an item's minimum and maximum stock levels. In the Utilities menu, the Scroll Through All Customers, Vendors and Items tools take you through every record and won't let you move on until the required fields are filled in. Run each one once.
Print a trial balance and compare it with the one from QuickBooks on the same date. Then switch to Test Mode and run a few days of pretend business before going live.
Your QuickBooks transaction history stays in QuickBooks. Keep it, read-only, for as long as your accountant advises. Easy Books starts fresh from your chosen date with your open balances, which is how businesses have always changed accounting systems.
Request the manual
We will send you the complete Easy Books User Manual and the Task Map, free and with no obligation. Read them, compare them against whatever you are using now, and judge for yourself whether this is simpler. It takes under a minute to ask.
